How to integrate a chatbot to any website in less than 5 minutes

by Stewan
TLDR; Discover how Chatness simplifies the process of integrating a chatbot into your website. With just a few steps, you can enhance customer support, automate FAQs, and engage with visitors seamlessly. Get ready to revolutionize your website experience with Chatness, the leading AI chatbot service provider.
Note: This article was intended for Chatness Beta. Please refer to our documentation for a quick start on the latest version.
Nowadays, it's very easy to automate stuff for your business. There are plenty of options out there that can save you time and enhance customer experience. One of the most popular automation tools is a chatbot. You can seamlessly integrate a chatbot into your website using Chatness, an efficient Chatbot as a Service platform that utilizes cutting-edge AI technology.
In this article, we'll show you how to integrate a chatbot into your website using Chatness. Chatness offers a user-friendly interface and can even be hosted on your own server, providing you with full control over your chatbot.
First things first, let's talk about why you should consider adding a chatbot to your website. A chatbot can act as a virtual assistant, providing instant responses to frequently asked questions, guiding users through your website, and even assisting with sales inquiries. By having a chatbot readily available, you can engage with your visitors 24/7, even when your human support team is not available.
Now, let's get down to business and see how easy it is to integrate Chatness into your website. Here are the simple steps you need to follow:
1 - Sign up for an account
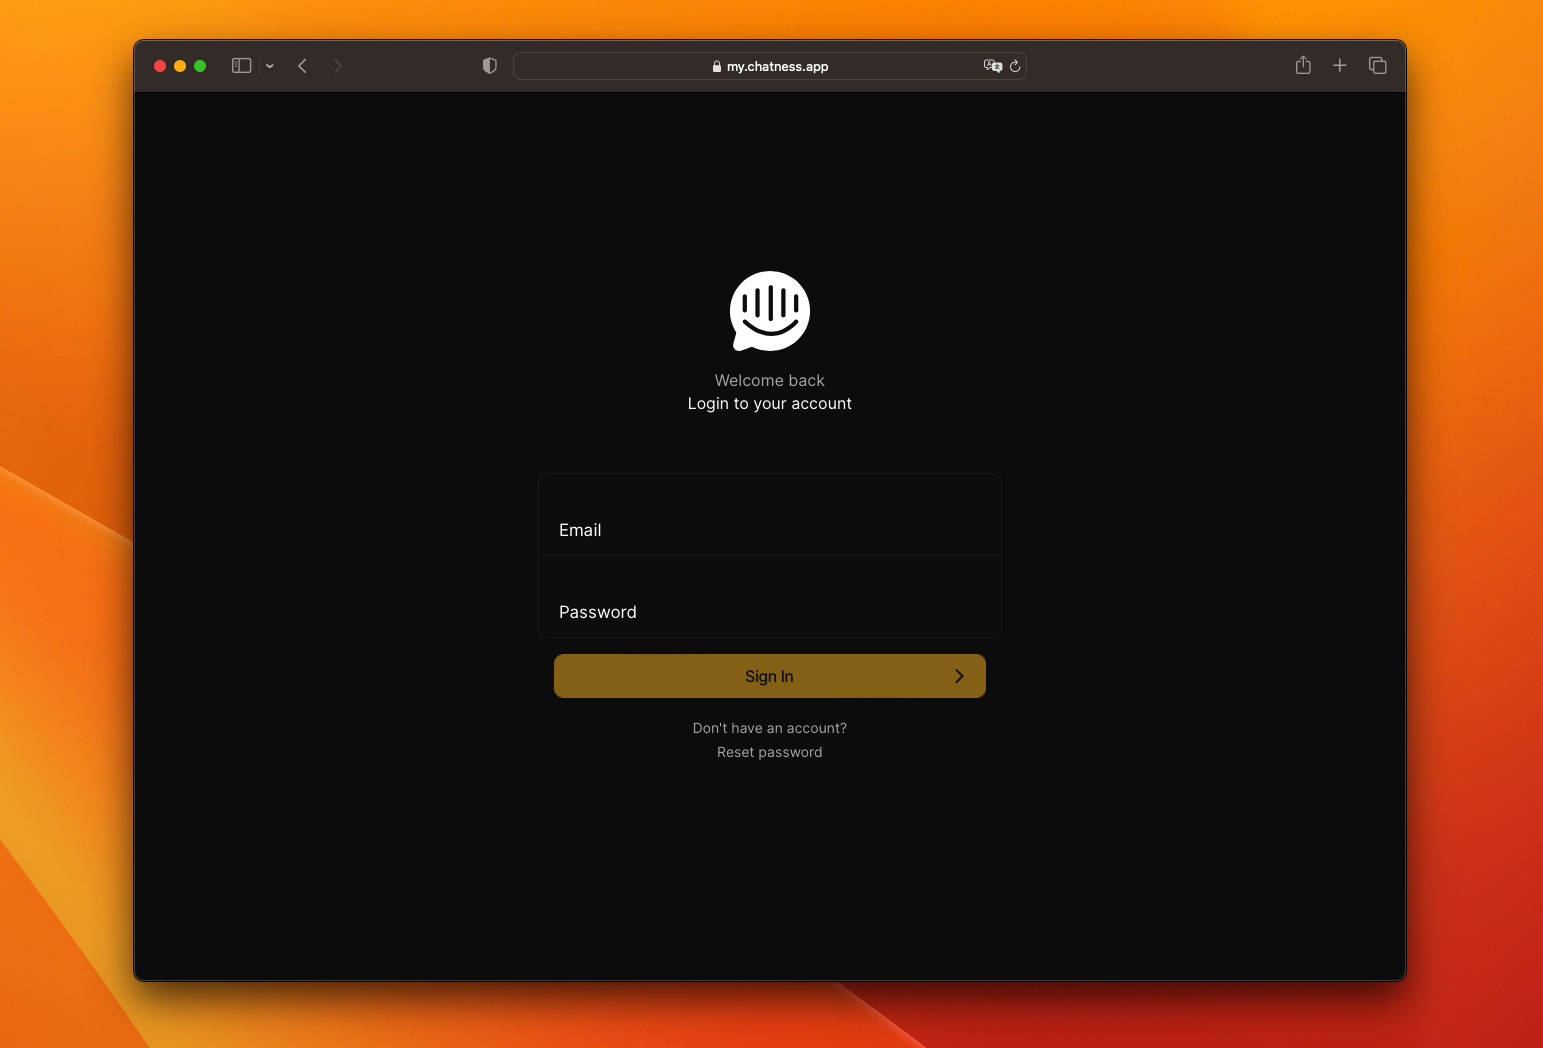
Head over to the Chatness website and create an account. Don't worry, there's a free trial available, allowing you to test the platform and see if it meets your requirements.
2 - Create your chatbot
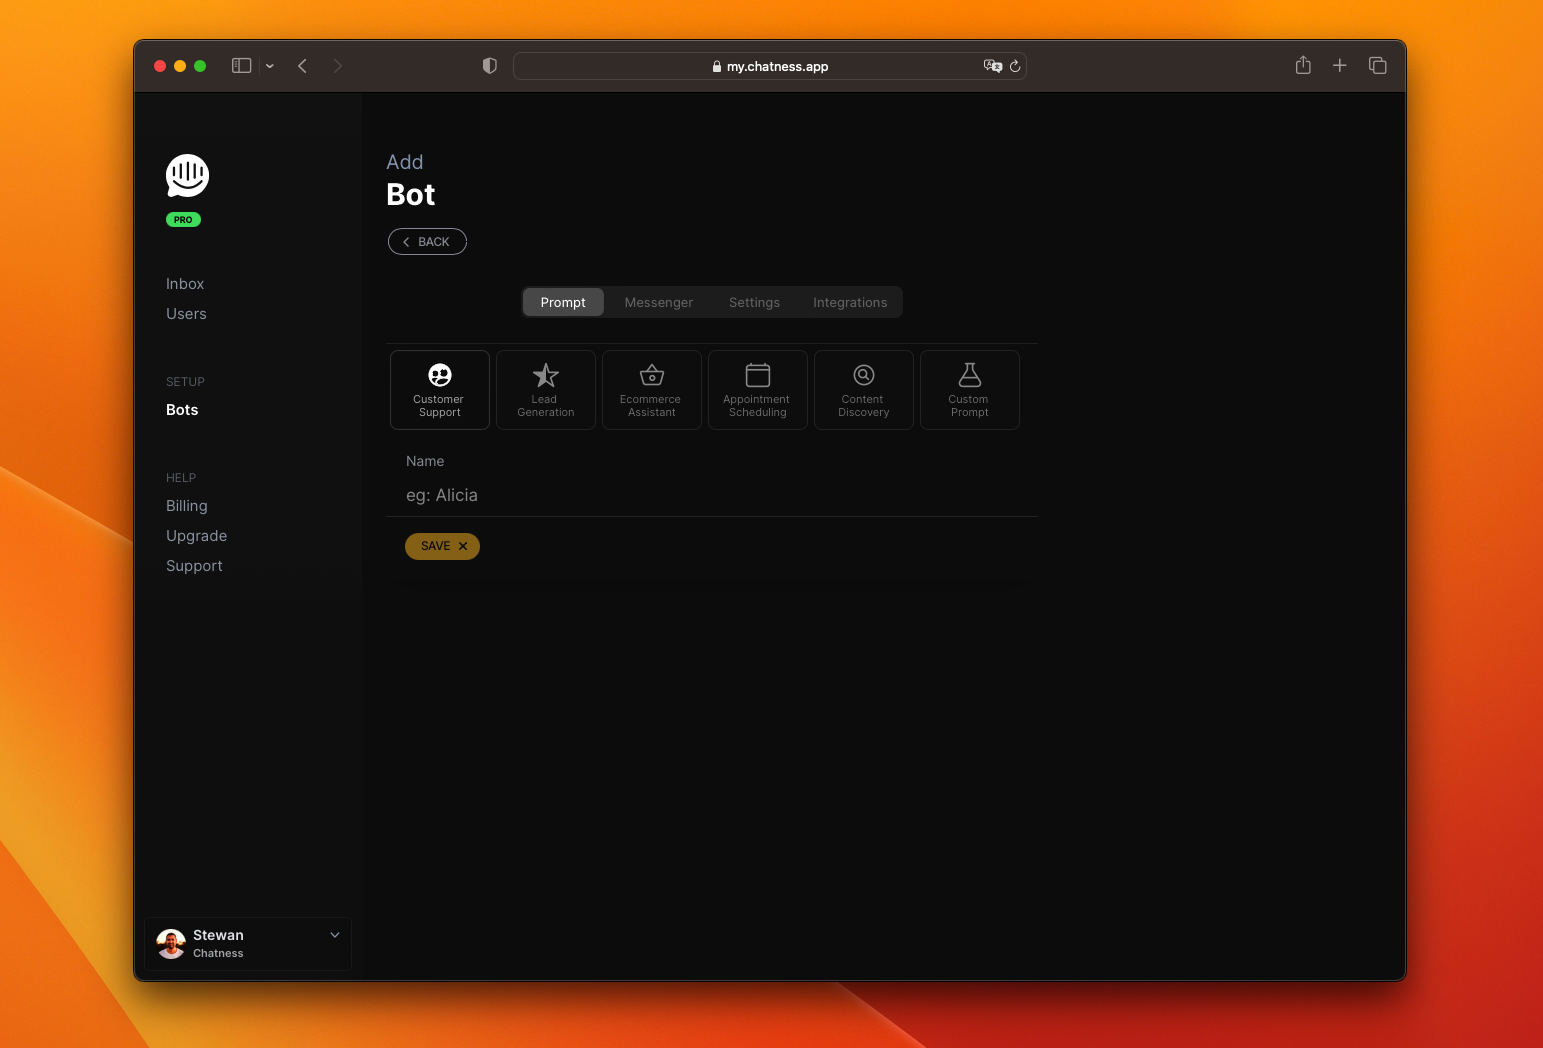
Once you're logged in, you'll be able to create your chatbot using Chatness' intuitive interface. Customize the chatbot's appearance, behavior, and train it to understand specific queries related to your business.
3 - Setup appearance
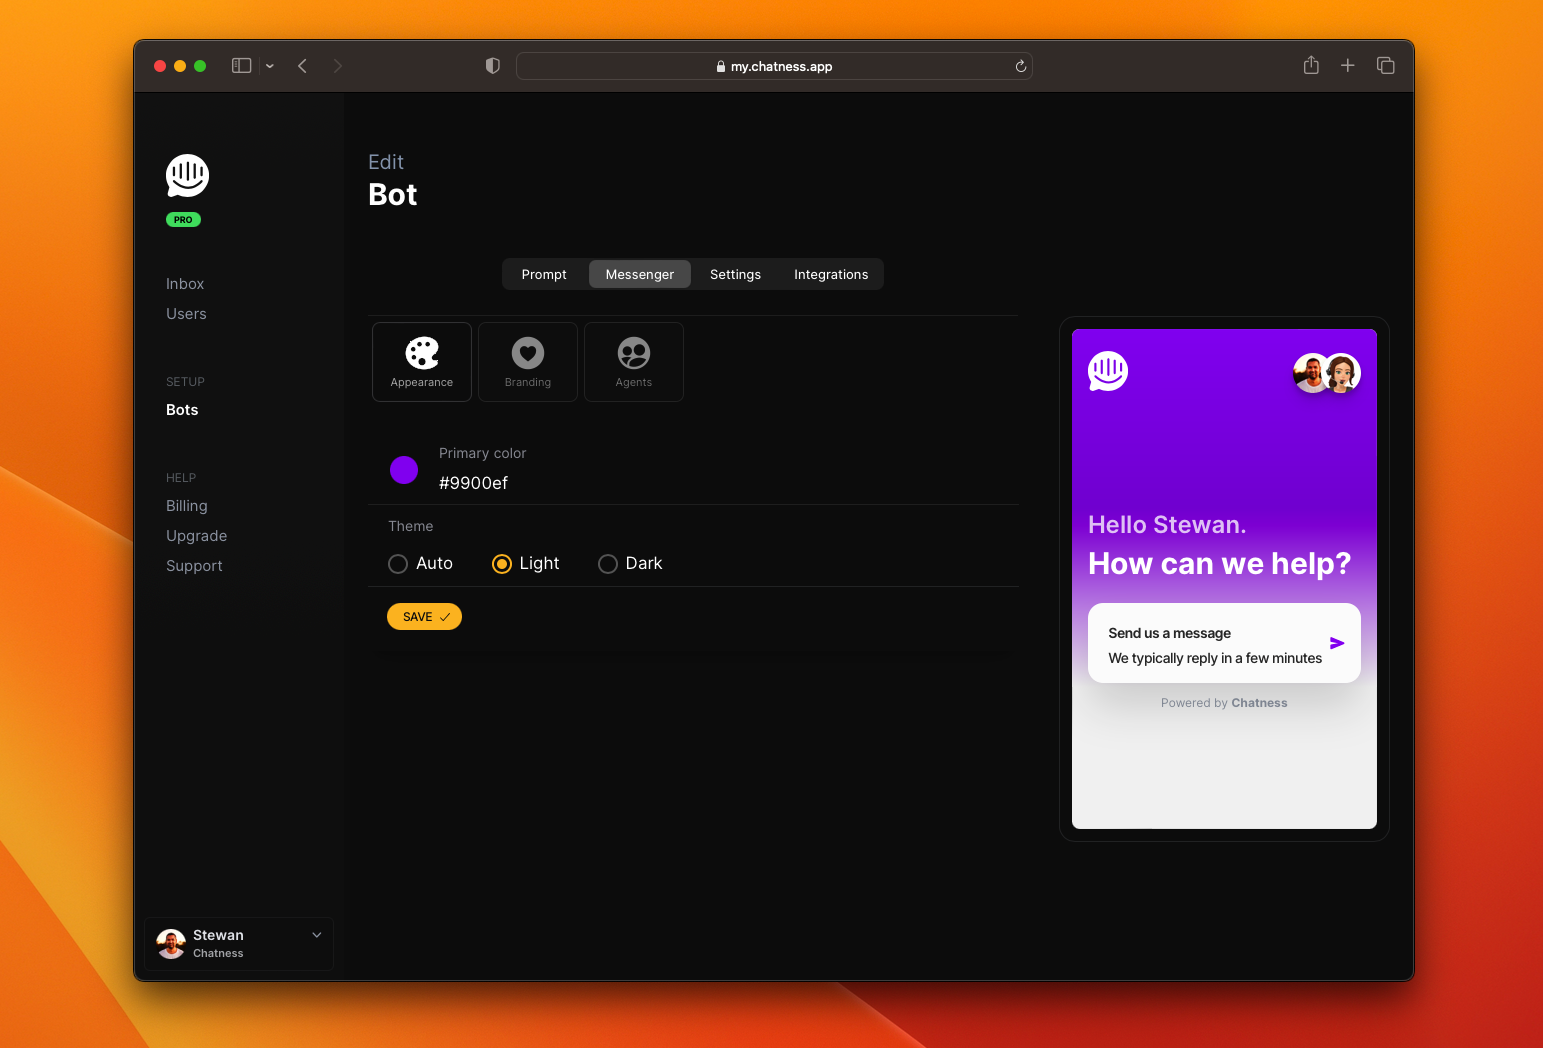
In the Messenger tab and Appearance section you can edit the primary color to reflect your branding and also define an automatic, light or dark theme.
The automatic theme will check for user's system preferences to show their prefered style. If the user's system preferences are not available, it will fallback to the light theme.
4 - Branding
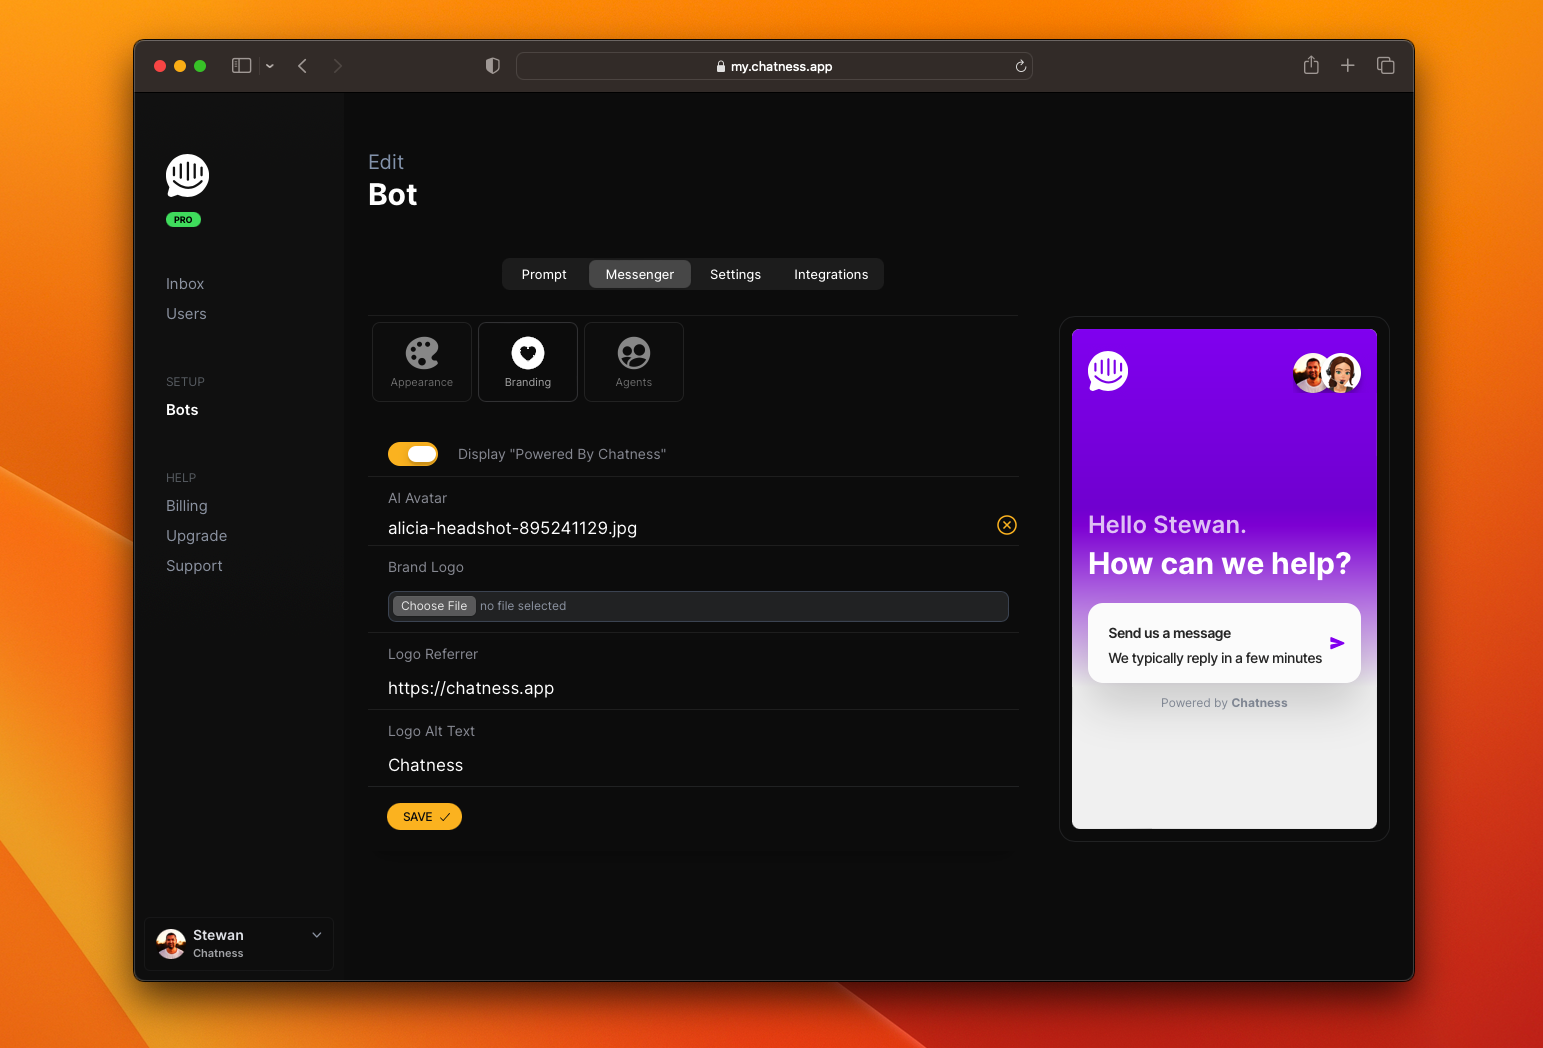
Also in the Messenger tab, click on Branding so you can:
- Choose whether to disclose Powered by Chatness or not
- Add your own bot avatar
- Add your own branding logo
- Add your own logo link referrer
- Add your own logo alt text
5 - Agents
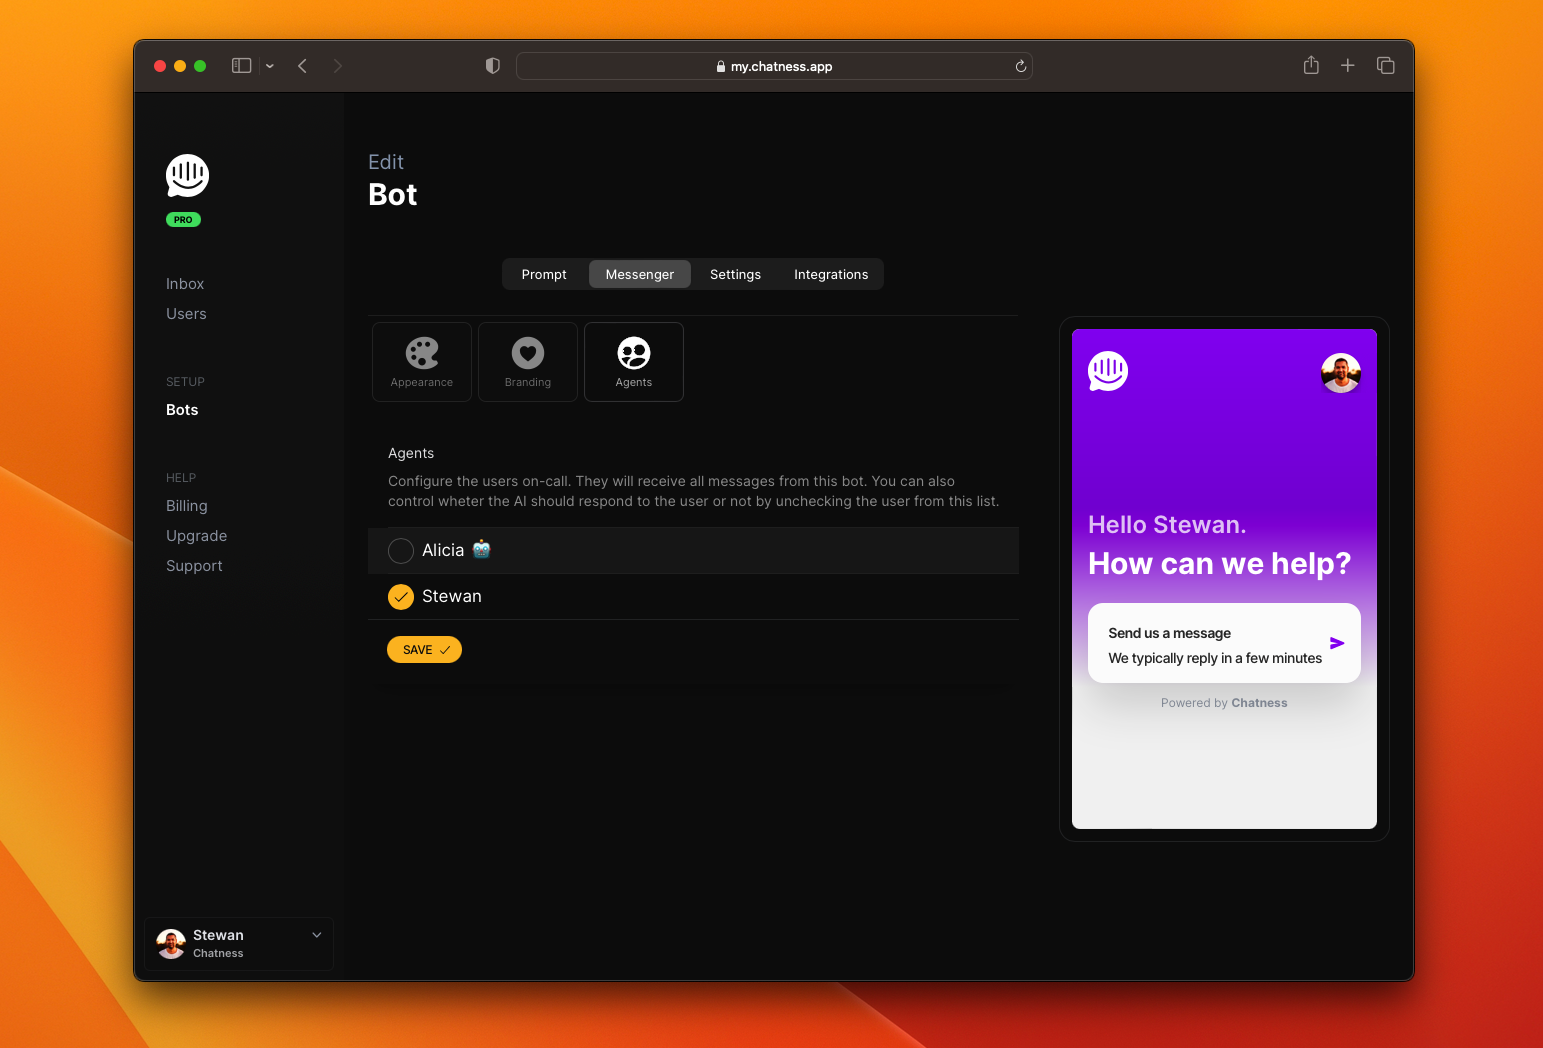
Agents for your messenger are the users that will be able to answer the messages sent by your visitors. You can add as many agents as you want, including the bot itself as an agent. When the bot is included in the agent list, it will try and answer questions based on the training prompt you've provided. To disable bot responses you can just remove it from the agent list. You can also disable the bot per conversation thread.
6 - Settings
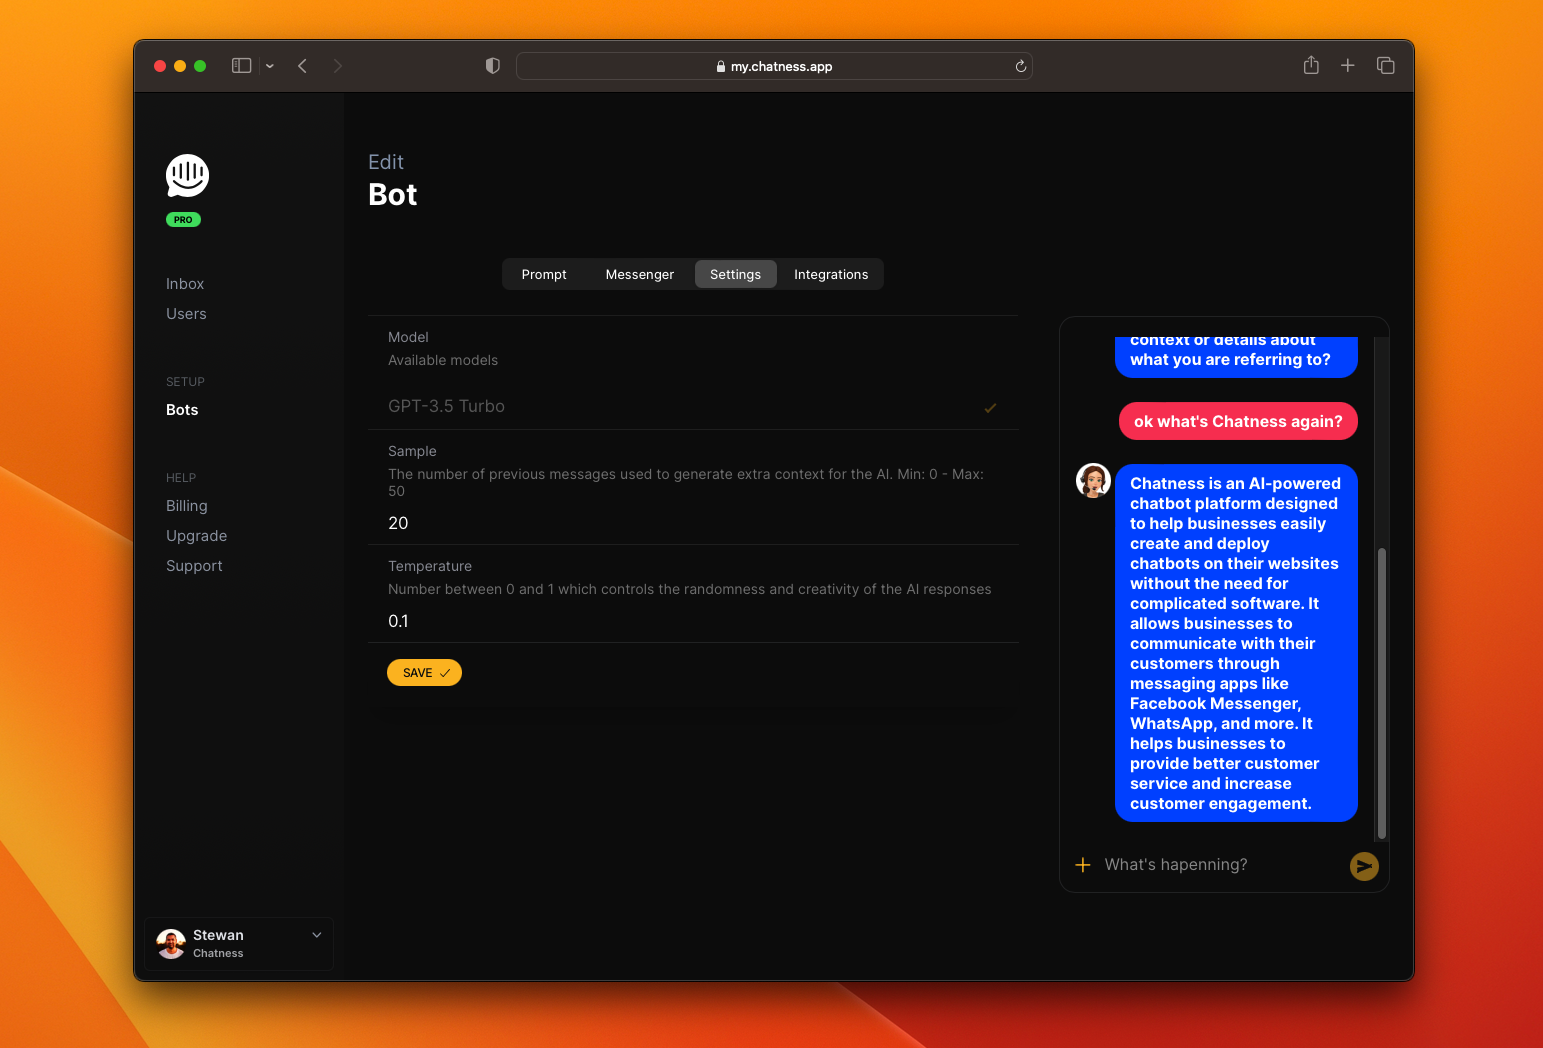
Now in the settings tab you can
- Choose the AI model your bot will use. Some models may not be available depending on your plan.
- Define a sample number used to train your bot. The higher the number, the more accurate your bot will be, but it may also take longer to respond.
- Set a temperature for your bot answers. The higher the temperature, the more creative your bot will be, but it may also be less accurate.
7 - Generate the embed code
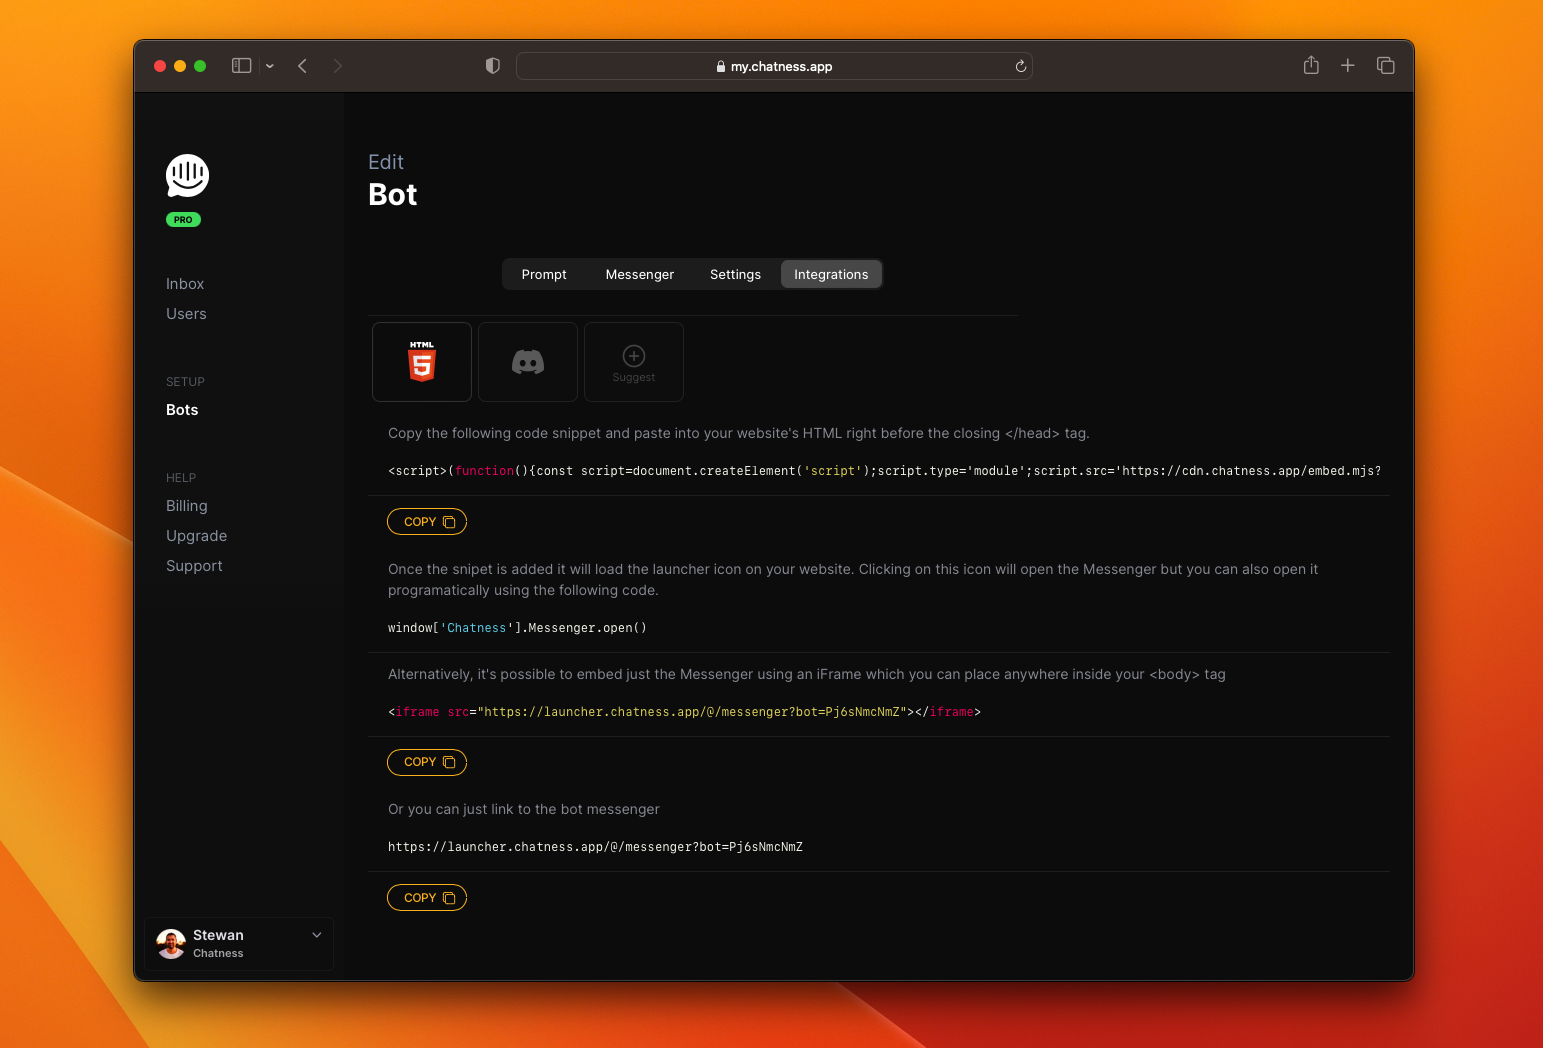
After you've designed your chatbot to your liking, Chatness will generate a small piece of code for you to add to your website. This code snippet acts as a bridge between your website and the Chatness platform, allowing the chatbot to function seamlessly.
To embed the code into your website: Copy the code provided by Chatness and paste it into the HTML code of your website. You can place it in the header.
There's also options for linking directly to the messenger using iframe so you can embed it anywhere you want inside your website, or URL that you can share with anyone.
8 - Test and optimize
Once you've added the code, it's time to test your chatbot. Open your website and initiate a conversation with the chatbot to ensure everything is working as expected. If you encounter any issues, don't hesitate to reach out to the Chatness support team for assistance.
Congratulations!
You've successfully integrated Chatness into your website. Now sit back and watch as your chatbot engages with your visitors, provides instant support, and helps drive conversions.
Keep in mind that the prompt you've provided might be adjusted to fit the context of the conversation, so don't be surprised if your bot answers differently than expected. You can always update the prompt adding new context from your visitors to make it more accurate and smarter over time.
In conclusion, integrating a chatbot into your website has never been easier, thanks to Chatness. By following the steps outlined in this article, you can enhance your website's functionality and provide a seamless user experience for your visitors.
So why wait? Give Chatness a try and unlock the power of chatbot automation for your business today. Your customers will thank later!