Widget
You can access the widget configuration by selecting your bot in the left corner of the app and clicking the Widget option under the Setup heading.
Customizations
A bot on Chatness AI can be configured to better represent your brand. You can configure a variety of things:
-
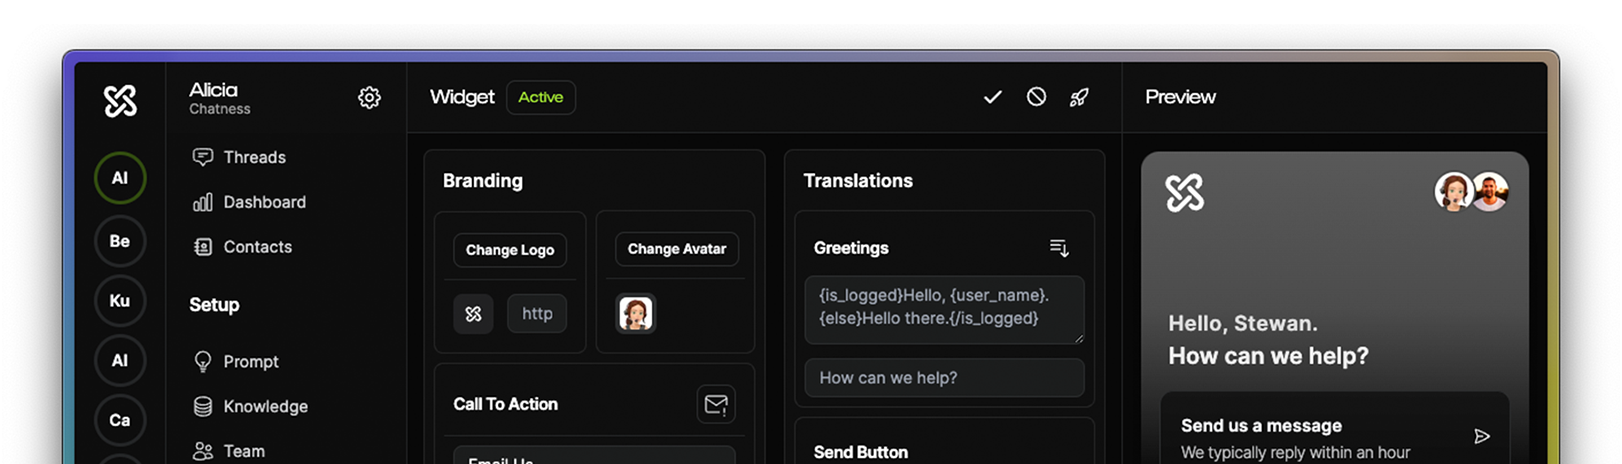
Branding: Change the logo shown on the top of the widget once users click on it. You can also change the link to your website as well as the avatar of your bot shown in conversations.
-
Call to Action: A call to action is a combined message + icon + link which can be in the format of
tel:,mailto:orhttps://. The CTA is shown right under the "Send us a message" button on the widget. -
Theme: Set the theme of your widget. You can choose between
light,darkandauto. Theautooption will let the user's system decide which theme to use. -
Primary Color: Set the primary color of your widget. This color will be used to better represent your brand in some places, for example the header in the expanded chat widget.
-
Background Color: Set the background color of your widget.
-
Greetings: Translate or change the greetings text of your widget shown when the user expands the widget. This is different from the Thread Greetings, which are the greetings shown in the conversation or flyover.
-
Send Button: Translate or change the send button label of your widget shown when the user expands the widget.
-
Thread Feedback: Translate or change the thread feedback text of your widget shown in expanded conversations.
-
Intents: Translate or change the validation text shown when the user doesn't provide a valid response for an intent.
Installation
To install the Chatness widget on your website, simply click the rocket button in the top/right corner and copy the code snippet provided into your website's HTML inside the <head> tag.
Example
<!DOCTYPE html>
<html lang="en">
  <head>
    <meta charset="UTF-8" />
    <meta name="viewport" content="width=device-width, initial-scale=1.0" />
    <title>Your Company</title>
    <!-- Enable Chatness -->
    <script>
      // Chatness Widget Code
    </script>
  </head>
  <body>
    <!-- Your Content -->
  </body>
</html>
The Chatness Widget code will look like this:
  (function() {
      const script = document.createElement('script');
      script.id = 'chatness';
      script.type = 'module';
      script.src = 'https://cdn.chatness.ai/scripts/widget.mjs?bot={botId}';
      script.async = true;
      document.head.appendChild(script);
    })();
You can replace the {botId} part with your bot's ID. You can find your bot ID on the Chatness app settings page, or if you have emailed your developer from our quick onboarding, your bot ID should be mentioned in the email.
Interactivity
The Chatness AI widget currently offers the following interactivity:
Open
You can dynamically open the Chatness AI Widget doing the following:
window.Chatness.widget.open()
Close
You can dynamically close the Chatness AI Widget doing the following:
window.Chatness.widget.close()
Send
You can dynamically open and send quick messages to the Chatness AI Widget doing the following:
window.Chatness.widget.message({
  text: 'Hello World',
})